Hardwired vs. Plug-In LED Mirrors: Installation Costs & Steps
Both methods can power the same lighting, dimming and defogging features. The real difference is appearance, electrical planning, flexibility and how much work is hidden behind the wall.
Shop flexible-power mirrorsCompare methods
Plug in for simplicity. Hardwire for the cleanest permanent finish.
A plug-in LED mirror uses its factory cord and a suitable nearby receptacle. It is usually faster, easier to reverse and more practical for renters or straightforward upgrades.
A hardwired mirror connects to building wiring at an approved electrical box or connection point. The cord disappears, wall-switch integration may be possible and the installation looks more custom—but electrical labor and wall work can increase the total.
Choose plug-in when…
- A suitable receptacle already exists nearby
- You want a faster, lower-cost installation
- You may relocate or replace the mirror
- A concealed or neatly routed cord is acceptable
- You want to avoid opening finished walls
Choose hardwired when…
- A cord-free wall is a design priority
- The bathroom is already under renovation
- Power can be roughed in before tile or drywall
- A wall switch or planned controls are desired
- A qualified electrician can make the connection
Hardwired vs. plug-in LED mirror comparison
| Decision point | Plug-in mirror | Hardwired mirror |
|---|---|---|
| Finished appearance | Cord may be visible unless concealed by the mirror or routed neatly | Clean, cord-free appearance when planned correctly |
| Installation speed | Often same-day mounting when a compatible outlet exists | Depends on wiring, box placement, wall access and inspection needs |
| Electrical labor | None if using an existing suitable receptacle exactly as permitted | Qualified electrical work normally required |
| Flexibility | Easier to unplug, move or replace | More permanent and tied to connection location |
| Wall repair | Usually limited to mounting holes | May require drywall, paint, tile or backsplash repair |
| Controls | Mirror touch controls; switched receptacle only when designed appropriately | Can be coordinated with a wall switch if the product and electrical design allow it |
| Best project | Retrofit, rental, guest bath or budget refresh | New build, full remodel or premium custom vanity |
| Main risk | Unsafe cord routing or unsuitable receptacle location | Incorrect wiring, inaccessible connections or poor rough-in placement |
What does LED mirror installation cost?
There is no reliable one-price national answer. Location, wall material, mirror weight, existing power, permits, access and repair work can change the quote dramatically. Use these as early budgeting allowances—not promised prices.
DIY plug-in mount
Existing suitable outlet, owner supplies ordinary tools, wall accepts included mounting system. Excludes mirror price.
Professional mounting
Handyperson or installer hangs and levels the mirror, then plugs it into an existing outlet. Large mirrors may cost more.
Nearby power work
Electrician adds or relocates an approved box/receptacle from an accessible suitable circuit with limited wall repair.
Complex hardwire project
Long cable route, new switching, difficult tile, permits, access problems, circuit work, patching or repainting.
Ask for an itemized quote
Separate mirror mounting, electrical connection, new box or circuit work, permit/inspection, drywall or tile repair and painting. A “$200 mirror installation” can become a much larger project when the electrician cannot reach a suitable source without opening the wall.
Typical plug-in LED mirror steps
These are planning steps only. The product manual controls, and large glass mirrors may require two people.
Confirm compatibility
Check voltage, plug, cord length, damp-location instructions and whether the existing bathroom receptacle is suitable.
Measure the wall
Mark mirror centerline, finished height and clearances from faucet, backsplash, sconces, outlets and adjacent walls.
Locate support
Find studs or verify the approved anchor method for the wall type and mirror weight.
Level the cleat
Position the French-cleat bracket or supplied mounting rail, mark holes and secure it exactly as instructed.
Plan the cord path
Keep the cord unpinched, away from water exposure and outside prohibited locations. Do not hide a plug where it must remain accessible unless permitted.
Hang and test
Lift the mirror onto the bracket, verify engagement and test lighting, dimming, memory and defogging before cleanup.
Typical hardwiring workflow
Review the manual
Confirm the selected model explicitly supports hardwiring and identify its connection location and required clearances.
Map the rough-in
The electrician plans the circuit, protection, switch logic, box and cable location so the connection lands behind the mirror.
Coordinate framing
Confirm studs, blocking, plumbing, vents, tile layout and mounting rail before closing the wall.
Isolate and verify power
A qualified person de-energizes the circuit, confirms it is off and completes the connection according to product and code requirements.
Mount without pinching
The team hangs the mirror while protecting conductors, connector, driver and glass from damage.
Energize and test
Test touch controls, wall switch behavior, dimming, color, memory and defogger; finish required inspection and wall repair.
Do not use an inaccessible improvised splice
Electrical connections, boxes and access must comply with the mirror instructions and local rules. Do not bury a loose cord connection behind tile or glass, and do not assume an existing vanity-light cable can be reused without evaluation.
Pre-installation checklist
Mirror & wall
- Exact size and orientation
- Product weight
- Studs or approved anchors
- Wall flatness
- Two-person lift needs
Power & controls
- Plug-in/hardwire support
- Cord and connection position
- Voltage and listed components
- Switch behavior
- Required circuit protection
Bathroom clearances
- Faucet and backsplash
- Outlets and sconces
- Door swings
- Wet-location boundaries
- Local permit requirements
Finish work
- Tile drilling method
- Wall patching
- Paint touch-up
- Cord concealment
- Future service access
Testing
- Front and back light
- Color temperatures
- Dimming and memory
- Defogger and timer
- Bluetooth, if included
Documents
- Owner’s manual
- Wiring diagram
- Receipt
- Model/SKU
- Installer invoice
TETOTE mirrors that support plug-in or hardwired installation
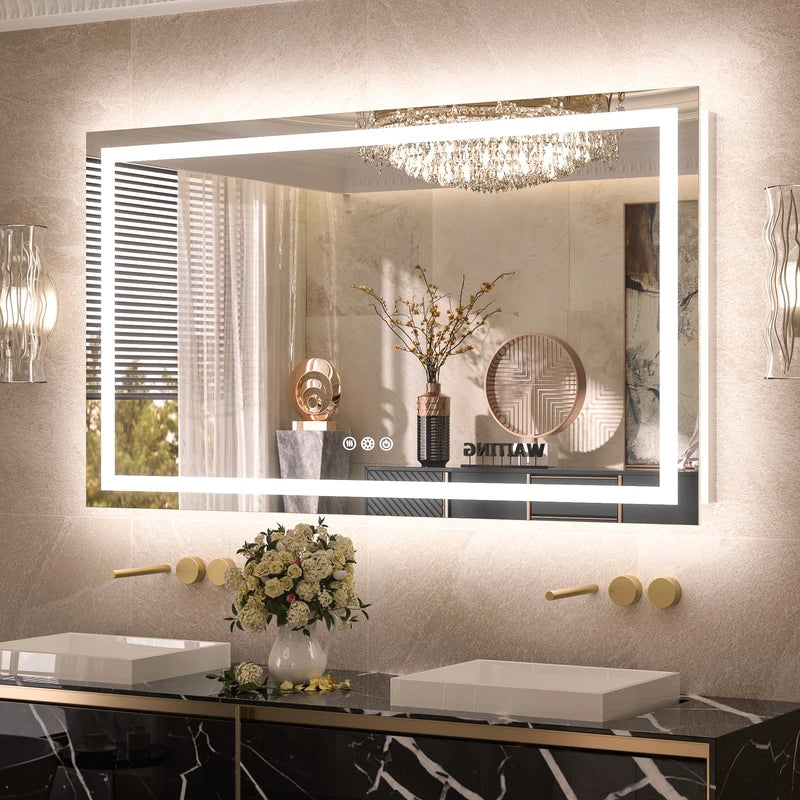
Frontlit & Backlit LED Mirror
A frameless dual-light mirror with a listed 60-inch cord, French-cleat mounting and both connection options.
Vanity Mirror with Dual LED Lights
Independent front, rear and combined lighting with plug-in or hardwired installation listed.
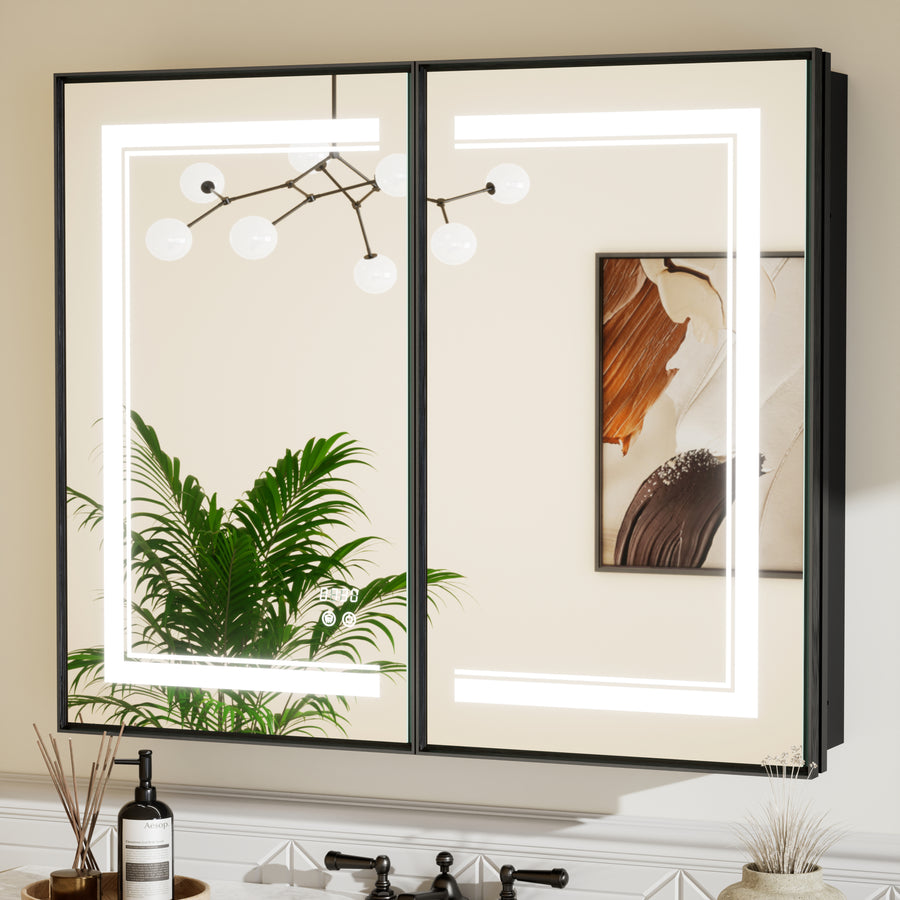
Framed LED Medicine Cabinet
Recessed or surface mounting plus plug-in or hardwired power with a listed 59-inch cord.
Hardwired and plug-in LED mirror FAQs
Does a hardwired LED mirror work better than a plug-in mirror?
No, not inherently. On a model designed for both methods, lighting and defogging performance should be based on the mirror’s specifications, not whether its compatible supply is plugged in or hardwired.
Can I install a plug-in LED mirror myself?
Many owners can perform the mechanical mounting if the manual allows it, the wall is suitable and a compliant receptacle already exists. Large mirrors often need two people. Do not perform electrical alterations outside your qualifications.
Can I cut off the plug and connect the wires?
Only if the manufacturer’s exact instructions explicitly permit and describe that method, and the work complies with local requirements. Otherwise, doing so can create safety and warranty problems.
Can the outlet be hidden behind the mirror?
Only when the product design, plug clearance, required accessibility and local rules allow it. A mirror must not crush the plug or cord.
How much does it cost to hardwire an LED mirror?
A simple nearby connection may fit a few-hundred-dollar planning allowance, while new cable routes, switching, tile work, permits or repairs can push the project above $1,000. Obtain a local itemized quote.
Should I install power before tile?
Yes, whenever possible. Finalize the mirror model, orientation and connection location before tile or backsplash work to avoid visible repairs and inaccurate rough-in placement.
Does a hardwired mirror need a wall switch?
Not always. Many mirrors have touch controls. Whether a wall switch is required or desirable depends on the model, electrical design and local rules.
Choose the power plan before the mirror hits the wall
Compare TETOTE LED mirrors that support both plug-in convenience and a clean hardwired finish.
Shop LED bathroom mirrors