🧰 Tools You'll Need
🪞 Surface-Mount vs. Recess-Mount: Which One Are You Doing?

☀️ Surface-Mount
The cabinet hangs directly on top of the wall, similar to hanging a large picture frame. No cutting into drywall, faster to install, and works on almost any wall.
🏗️ Recess-Mount
The cabinet sits inside the wall cavity between the studs for a flush, built-in look. Requires cutting an opening and framing the cutout with extra studs.
Both installation types share the same wiring and shelf-assembly steps — the difference is mainly in how the cabinet body is secured to the wall. Below, both are covered.
☀️ Surface-Mount Installation, Step by Step
1Prep the door. Before installation, remove the side panels and disconnect the cable linking the door to the cabinet. Press the lever beneath the hydraulic hinge and slide the door off the frame.
2Mark the wall. Hold the cabinet against the wall and trace its outline with a level and marker, noting where the bottom of the cabinet sits and where the lower mounting brackets will go. Plan to hang the cabinet at least 3 inches above the faucet.
3Drill and anchor. Drill into the marked spots, then tap in wall anchors with a hammer. Choose your drill bit based on wall thickness — thicker walls (⅝" / 16mm+) typically need a ¼" bit drilled about 1 31/32" (50mm) deep, while thinner walls need a smaller bit or may not require anchors at all.
4Connect the power. You can either plug the cabinet directly into a nearby standard outlet, or hardwire it into an existing switch-controlled lighting circuit.
Plug-in: Simply plug the power cable into a standard wall socket before hanging the cabinet.
Hardwired: Cut the plug head off and connect the wires to your junction box — black to hot (L), white to neutral (N), and green to earth (E).
5Hang the cabinet. Rest the cabinet body on the lower brackets and hold it level. Secure the upper brackets into the groove at the top of the cabinet and mark those spots on the wall — larger cabinets may need more than two upper brackets.
6Secure the top. Drill the marked upper spots, fit the upper brackets into the cabinet groove, and screw them into the wall.
7Add the shelves. Snap the provided shelf clips into the round holes on either side of the cabinet interior, then set the glass shelves in place. Shelf height can be adjusted later using the extra sets of pre-drilled holes.
8Reattach the door. Rehang the mirrored door and reconnect the cable between the door and cabinet body.
🏗️ Recess-Mount Installation, Step by Step
1Detach the door. Release the cable connecting the door and cabinet, press the hydraulic hinge lever, and slide the door free from the frame.
2Cut the opening. Trace the cabinet's outline on the wall, then cut through the drywall along that line and frame the cutout. Mark the center stud, saw it for the cabinet to rest on, and add two extra studs at the top and bottom of the opening plus one on each side to fully support the cabinet weight.
| Cabinet Size | Recommended Cutout Opening |
|---|---|
| 16×24 | 15⅛" × 23⅛" (opening depth 3¾") |
| 20×26 | 19⅛" × 25⅛" (opening depth 3¾") |
| 24×32 | 23⅛" × 31⅛" (opening depth 3¾") |
| 30×26 / 30×32 | 29⅛" × 25⅛" or 29⅛" × 31⅛" (opening depth 3¾") |
| 36×32 / 36×24 | 35⅛" × 31⅛" or 35⅛" × 23⅛" (opening depth 3¾") |
| 40×32 | 39⅛" × 31⅛" (opening depth 3¾") |
| 48×32 | 47⅛" × 31⅛" (opening depth 3¾") |
3Connect the power. Just like the surface-mount method, either plug the cabinet into a standard socket or hardwire it into a switch-controlled circuit using the same black/white/green wiring pattern.
4Set the cabinet in place. Slide the cabinet body into the cutout opening and secure it to the framing studs with screws.
5Add the shelves and reattach the door. Insert the shelf clips and glass shelves as with the surface-mount method, then rehang the door and reconnect the cable, pressing the circular connector firmly back into its socket.
🔧 Adjusting the Hydraulic Hinges
Once the cabinet is installed, small adjustments to the hinges can help the door sit perfectly flush:
- Depth of door overlay: Open the hinge cover and turn the depth adjustment screw to move the door in or out.
- Gap between door and cabinet: Turn the front screw to widen or narrow the gap along the side.
- Door height: Turn the eccentric screw to release the mounting plate and shift the door up or down.
💡 Using the LED Controls
Most LED mirror medicine cabinets use a simple touch-sensor switch with three functions:
- Color Temperature: Tap once for white light, twice for warm light, and a third tap for natural light.
- On/Off & Brightness: A single tap turns the light on or off; a long press adjusts brightness, and holding the button again after turning the light off toggles the touch switch's own indicator light.
- Anti-fog: This keeps the mirror surface clear in a steamy bathroom and automatically shuts off after about an hour to save energy.
📋 Typical LED Cabinet Specifications
| Parameter | Typical Spec |
|---|---|
| Color Temperature | 3000K–6500K (adjustable) |
| Input Voltage | AC 100–120V |
| Output Voltage | 24V DC |
| CRI | ≥ 80 Ra |
| Life Span | Up to 25,000 hours |
| Anti-fog | Yes |
| IP Rating | IP44 |
| Wiring Method | Hardwired or plug-in |
| Switch Type | Touch sensor switch |
🌤️ Shop LED Mirror Medicine Cabinets
Ready to pick your cabinet before you start? Here's the current LED lineup, each available in multiple sizes to fit your vanity.
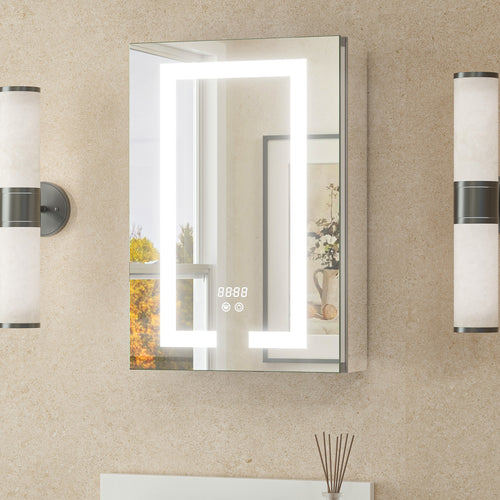
Dual-Lit LED Medicine Cabinet
★★★★★735 reviews
Sizes: 16×24 – 48×32
Built-in outlets + USB · Recessed or surface mount
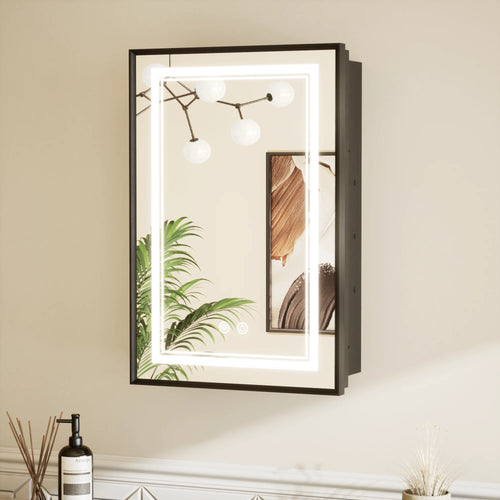
Framed LED Medicine Cabinet
★★★★★102 reviews
Sizes: 16×24 – 36×30 · Black or White
2 built-in outlets · Framed mirror door
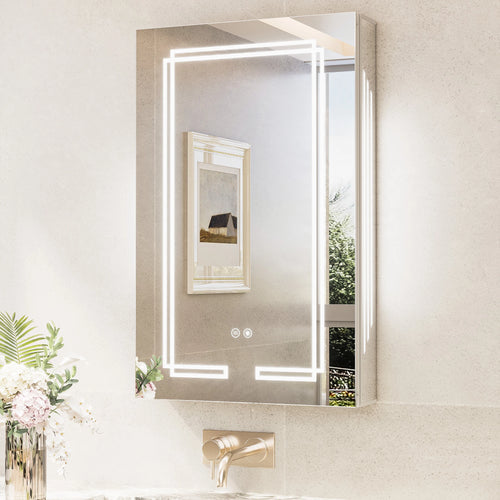
Trio-Lit LED Medicine Cabinet
★★★★★441 reviews
Sizes: 20×26 – 48×32
3-color stepless dimming · Anti-fog · Memory function
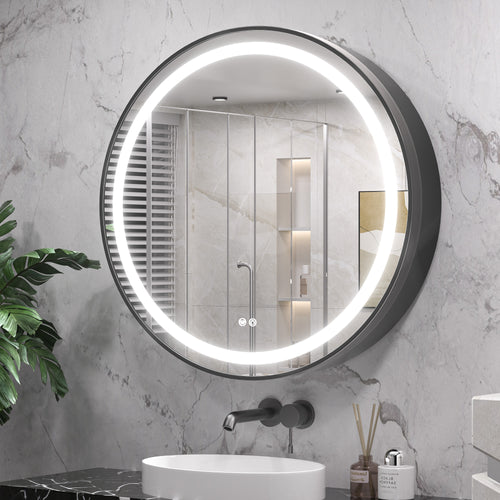
Round LED Medicine Cabinet, Metal Framed
★★★★★22 reviews
Sizes: 24" – 30" round
Front-lit LED · 3-color · Metal frame
❓ Frequently Asked Questions
Do I need an electrician to install an LED mirror cabinet?
If you're using the plug-in option, most people can complete the installation themselves. If you're hardwiring the cabinet into your household wiring, it's safest to have a licensed electrician handle the connection.
How high should I hang the cabinet above the sink?
A common guideline is to mount the cabinet at least 3 inches above the faucet, though final height should also account for the height of the people using it.
What's the difference between surface-mount and recess-mount installation?
Surface-mount cabinets attach to the outside of the wall and don't require cutting into drywall, while recess-mount cabinets sit inside a framed cutout for a flush, built-in appearance.
Why won't my mirror light turn on?
Double check that the power is connected (either plugged in or wired to an active circuit) and that the touch switch hasn't been long-pressed into the off position. If the issue continues, consult the manufacturer's support resources.
Final Thoughts
Installing an LED mirror medicine cabinet is a manageable weekend project whether you choose the flush look of recess-mount or the simplicity of surface-mount. With the wiring connected safely, the shelves adjusted to fit your storage, and the hinges fine-tuned for a flush fit, you'll have a brighter, more functional bathroom ready to enjoy all summer long.